

Today, I'm going to show you how to create this delicate wire ring, which is a part of my wire ring series. I've already done a DIY of a ring with the word "love" if you're interested in checking that out.
WHAT YOU'LL NEED

- a marker
- some regular old pliers
- wire cutters
- about 2 inches/5 cm of 20 gauge wire
I got mine from Michael's from the brand Bead Landing.
I'm about a size 6 for rings,
so if you're bigger, definitely cut some more wire.
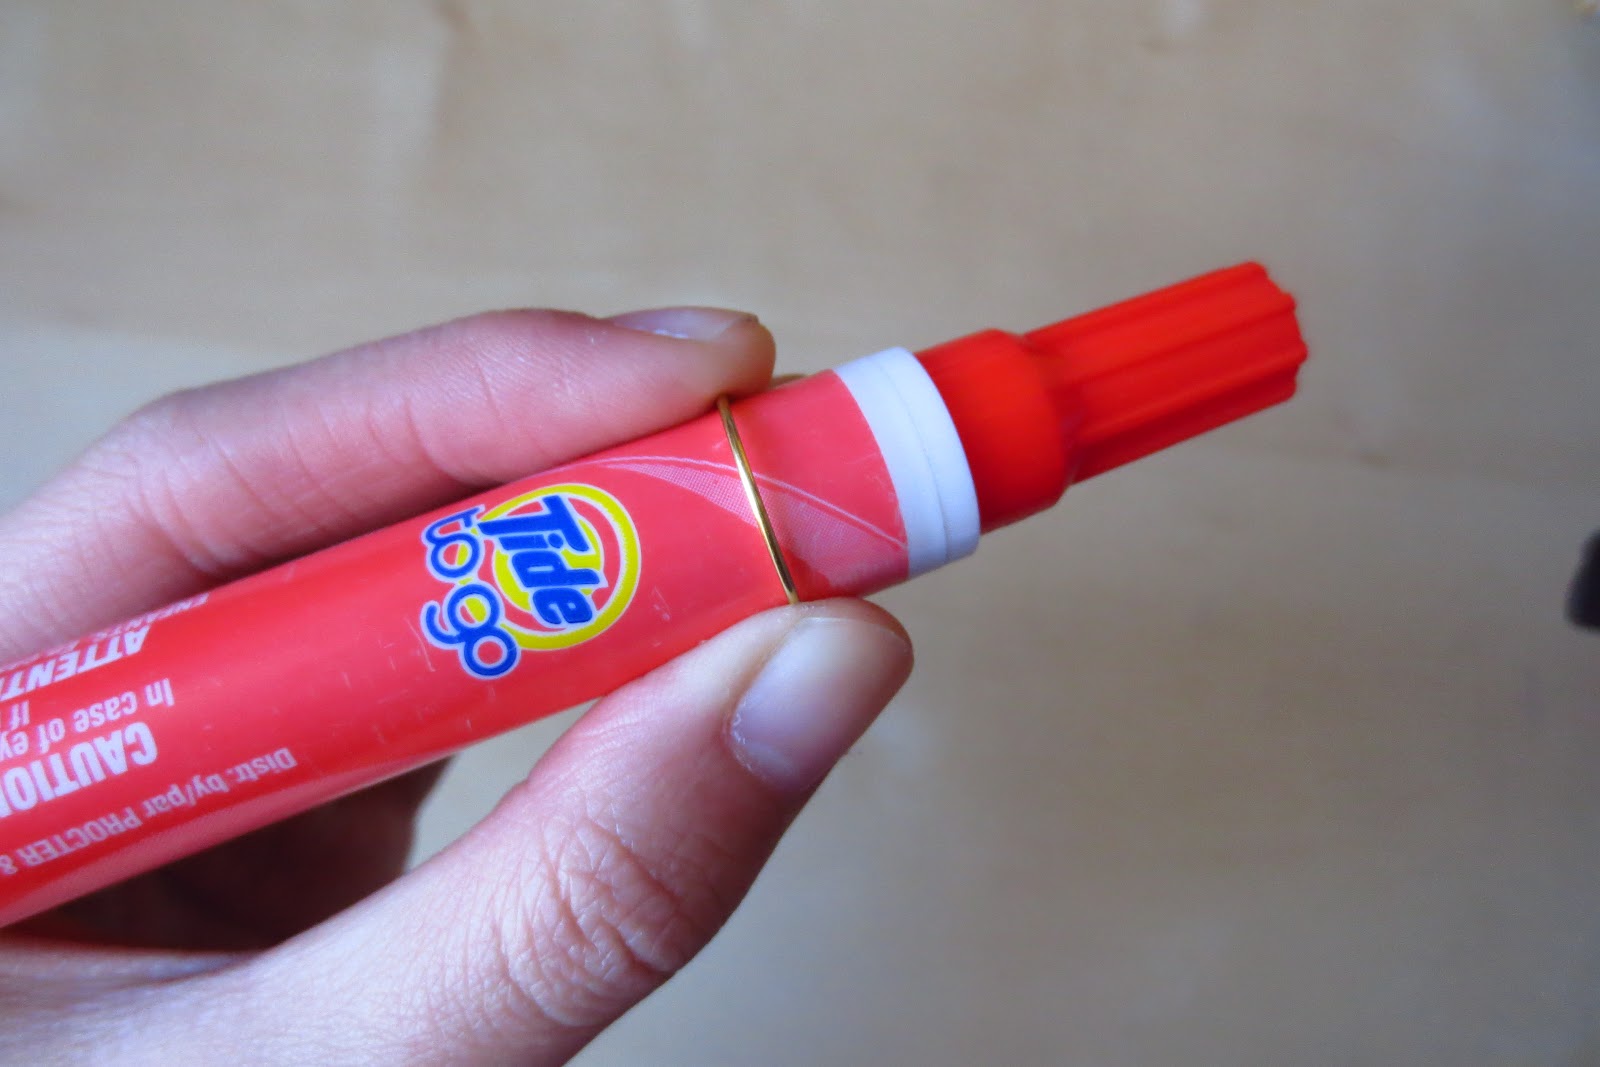

First off, wrap the wire around your marker. I like to use a straight line from the marker as a guide to make sure that when I wear the ring, it'll fit properly and not slant to the side.

Slip it off the marker and try it on. It's probably not going to be the right size for your finger (as you can see in the photo), so if it's too big, push and squeeze (yes, I am aware of how weird that sounds) the sides. You could even push on the top afterwards to make it fit better on your finger.

It should look a little like this when you're done with it. If the two sides of the wire aren't touching, do not fret as it will be easier for beginners if they aren't touching.


Take your pliers and stick it on the end of the wire and bend the wire over, like you're going to fold it in half (obviously, don't do that).

If your wire is a tiny bit long, like in the photo above, take your wire cutters and cut a bit of it off. Be sure not to cut too much off.

You should be left with something that looks like this.

Now, take your pliers once again and just finish off the little loop, bending the end of the wire so that it touches the band-like part of the ring.

This is how your wire should look like right now. Repeat the previous steps on the other end of the wire to complete your ring.

And there you go! I hope that yours turned out well and that this helped you out some how. I love how sweet and simple this ring looks. If you try it out, let me know how it goes!.
Thanks for reading!
No comments:
Post a Comment